VMware ESXi Requirements
About this Document
This document is intended for system administrators and provides the VM requirements for virtual AXS Guard appliances in an ESXi environment.
VMware ESXi is an operating system-independent hypervisor based on the VMkernel operating system that interfaces with agents that run on top of it.
Getting Started
Prerequisites
- You need an AXS Guard ISO image and license.
- Access to a computer with a web browser.
- An ESXi account with administrative privileges.
Important
- See the ESXi documentation for information about adding installation sources - such as ISO files - to your ESXi environment.
- See the virtual appliances section for additional information on supported AXS Guard VM configurations.
AXS Guard VM Requirements
| Virtual Hardware Options | ESXi Configuration |
|---|---|
| Boot Options Firmware | Both UEFI and legacy BIOS are supported; UEFI is recommended. |
| OS | 64-bit Linux OS. Select the appropriate kernel. To know the current kernel version, check the virtual appliances page on this site or see the CLI guide. |
| CPU | Assign the number of CPUs allowed by your license. See the AXS Guard virtual appliances section. |
| Memory | Assign the amount of memory allowed by your license. See the AXS Guard virtual appliances section. |
| HDD | Only 1 HDD is supported with a minimum capacity of 100 GB. For appliances in a High Availability configuration, a minimum of 200 GB is required per node. |
| Disk provisioning | Thick provisioned, eagerly zeroed. |
| SCSI adapter | The machine's SCSI adapter must be configured as VMware Paravirtual. |
| SCSI Bus Sharing | Physical. |
| Network devices | The number of virtual NICs that can be added to your VM is determined by your system license. See the AXS Guard virtual appliances section. The following adapter types are supported: E1000e, VMXNET3 and flexible. |
First Boot
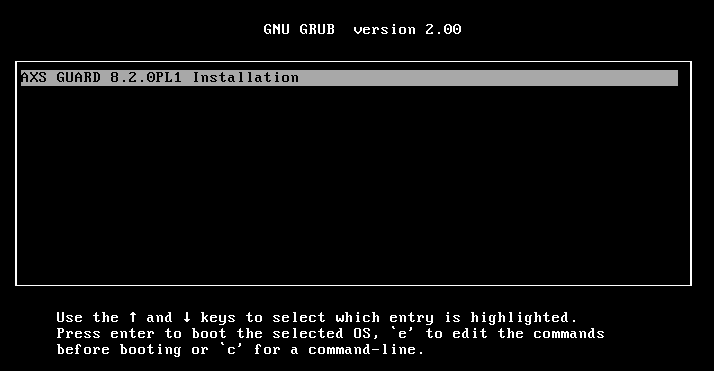
When booting the ISO file for the first time, you will be prompted to install the AXS Guard OS.
Partitioning the Hard Drive
-
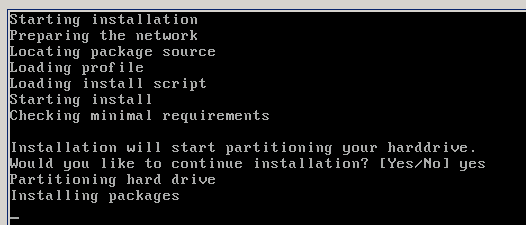
When starting up for the first time, the system will ask you to partition your hard drive. Simply enter
yes. -
After partitioning the appliance’s hard drive, the software packages will be installed automatically.
Important
Please be patient. Do not turn off your virtual AXS Guard appliance while the hard drive is being partitioned. The installation of the packages may take a while. The machine will halt when the installation is finished.
Boot Options after Installation
-
Unmount the AXS Guard ISO file before rebooting your virtual machine.
-
Make sure the default
ag-X.X-axs-virtualoption is selected in the boot menu and press enter to boot up the virtual appliance. The other boot options are not relevant for virtual appliances.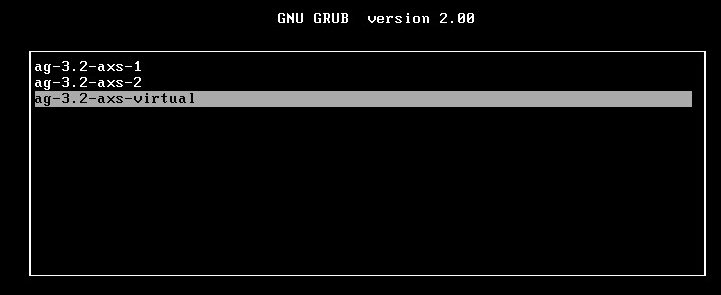
AXS Guard VM Configuration
Network Configuration
After booting up, you must configure the AXS Guard network devices via
the console tool in order to be able to access its web-based administrator tool. The factory default LAN IP of the AXS Guard appliance is 192.168.250.254/24.
-
After booting up, press Alt + F2 to go to a console.
-
Log in with the following credentials:
-
Username:
sysadmin -
Password:
sysadmin
-
-
Select Network > Configuration.
-
Configure your network devices.

-
Reboot the virtual appliance to apply the network configuration changes.
-
Log in to the web-based administrator tool of the virtual appliance to complete its configuration.
Logging in to the Configuration Tool
-
Start your favorite browser
-
Enter the following in the URL field:
https://appliance_LAN_IP:82 -
Accept the self-signed certificate.
-
Log in with the following credentials:
-
Username:
sysadmin -
Password:
sysadmin

-
-
Follow the instructions in the getting started guide and other feature manuals to further configure your appliance.
Extending AXS Guard Disk Partitions
For instructions on how to extend the partitions on your host OS, consult the documentation of your virtualization software.
To extend the partitions of your virtual AXS Guard appliance, please contact our customer service team.
Support
If you encounter a problem
If you encounter a problem with AXS Guard, follow the steps below:
-
Check the troubleshooting section of the feature-specific manual.
-
Check the knowledge base on this site for information about special configurations.
-
If no solution is available in any of the above sources, contact your AXS Guard vendor.
Contact Information
(+32) 15-504-400
support@axsguard.com