KVM
About this Document
This manual is intended for system administrators. It explains how to install the AXS Guard virtual appliance in a KVM environment, such as https://www.vultr.com/.

Getting Started
Prerequisites and Requirements
-
The virtual machine must be configured for a 64-bit Linux guest operating system.
-
System memory: assign the amount of memory allowed by your license. See the AXS Guard virtual appliances section.
-
Only 1 HDD is allowed with a minimum capacity of 100 GB. For appliances in a High Availability configuration, a minimum of 200 GB is required. More is recommended for appliances in a production environment.
-
The number of NICs is determined by your system license. See the AXS Guard virtual appliances section.
Important
The system clock of the host operating system must be accurate and preferably synchronized with a time server in order to correctly compute one-time passwords.
Supported Network Drivers
The following drivers are supported by the AXS Guard virtual appliance:
-
PCNET32 Ethernet Interface (VMWare)
-
PCI NE2000 compatible 10Mbit Ethernet Interface
-
PCI RTL8139 compatible 10/100Mbit Ethernet Interface
-
Intel® PRO/1000 Gigabit Ethernet support
KVM Installation and Configuration
KVM is a full virtualization solution for Linux on x86 hardware containing virtualization extensions (Intel VT or AMD-V). The installation and configuration of KVM is beyond the scope of this manual.
Excellent tutorials and guides are available on the Internet, e.g. the official Ubuntu KVM documentation website: https://help.ubuntu.com/community/KVM or the official Vultr® website: https://www.vultr.com/
Installing the AXS Guard OS
Uploading the ISO File
If you are using KVM, mount the AXS Guard ISO file as explained on this page https://help.ubuntu.com/community/KVM/VirtManager.
Custom ISO allows you to mount your image from Vultr® instances and run through the boot & setup process as you would on a bare metal server.
With direct console access available in the customer portal, you can customize your install even when network connectivity on the instance is not available. See https://www.vultr.com/ for details.
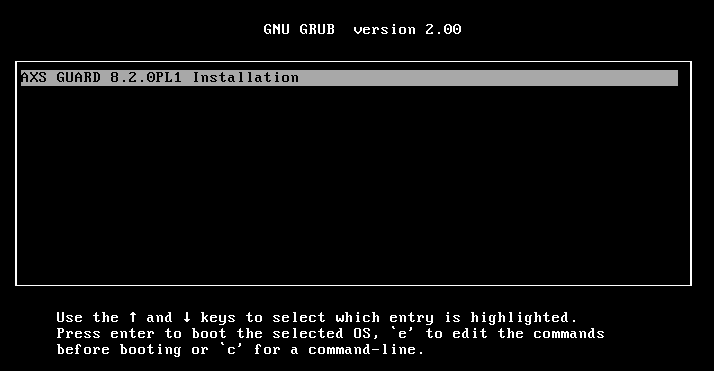
First Boot
When booting the ISO file for the first time, you will be prompted to install the AXS Guard OS.
Partitioning the Hard Drive
-
When starting up for the first time, the system will ask you to partition your hard drive. Simply enter
yes. -
After partitioning the appliance’s hard drive, the software packages will be installed automatically.
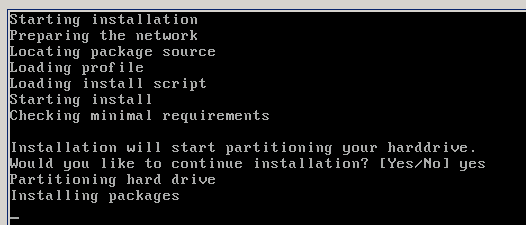
Important
Please be patient. Do not turn off your virtual appliance while the hard drive is being partitioned. The installation of the packages takes a while. The machine will halt when the installation is finished.
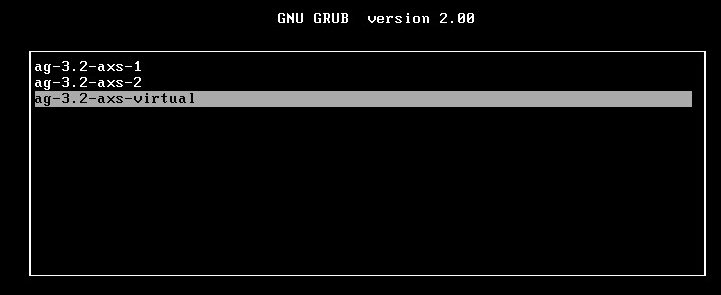
Booting up the AXS Guard OS
-
Unmount the AXS Guard ISO file before rebooting your virtual machine.
-
Make sure the default
ag-X.X-axs-virtualoption is selected in the boot menu and press enter to boot up the virtual appliance. The other boot options are not relevant for virtual appliances.
Network Configuration
After booting up, you must configure the AXS Guard’s network devices via
the console tool in order to be able to access its web-based administrator tool. The factory default LAN IP of the AXS Guard appliance is 192.168.250.254/24.
-
After booting up, press Alt + F2 to go to a console.
-
Log in with the following credentials:
-
Username:
sysadmin -
Password:
sysadmin
-
-
Select Network > Configuration.
-
Configure your network devices.

-
Reboot the virtual appliance to apply the network configuration changes.
-
Log in to the web-based administrator tool of the virtual appliance to complete its configuration.
Logging in to the Configuration Tool
-
Start your favorite browser
-
Enter the following in the URL field:
https://appliance_LAN_IP:82 -
Accept the self-signed certificate.
-
Log in with the following credentials:
-
Username:
sysadmin -
Password:
sysadmin

-
-
Follow the instructions in the getting started guide and other feature manuals to further configure your appliance.
Extending AXS Guard Disk Partitions
For instructions on how to extend the partitions on your host OS, consult the documentation of your virtualization software.
To extend the partitions of your virtual AXS Guard appliance, please contact our customer service team.
Support
If you encounter a problem
If you encounter a problem with AXS Guard, follow the steps below:
-
Check the troubleshooting section of the feature-specific manual.
-
Check the knowledge base on this site for information about special configurations.
-
If no solution is available in any of the above sources, contact your AXS Guard vendor.
Contact Information
(+32) 15-504-400
support@axsguard.com