Road Warrior
Introduction
PAX Road Warrior is a user-friendly and portable VPN device that enables your mobile workforce to securely access corporate network resources from virtually anywhere.
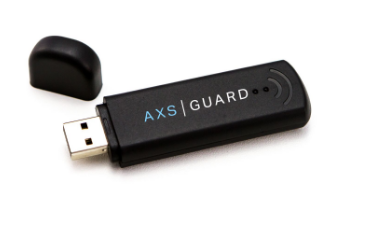
The device behaves like a personal wireless access point. To connect to the corporate network, users just need to connect the device to a public WiFi network or link the device to their smartphone in order to connect to the Internet.
Once the device is able to connect to the Internet, the VPN connection to corporate HQ is established automatically.
Getting Started
Prerequisites
The PAX Road Warrior unit must be preconfigured by the system administrator of your company or organization to be operational. VPN credentials may be required. Ask your system administrator for information.
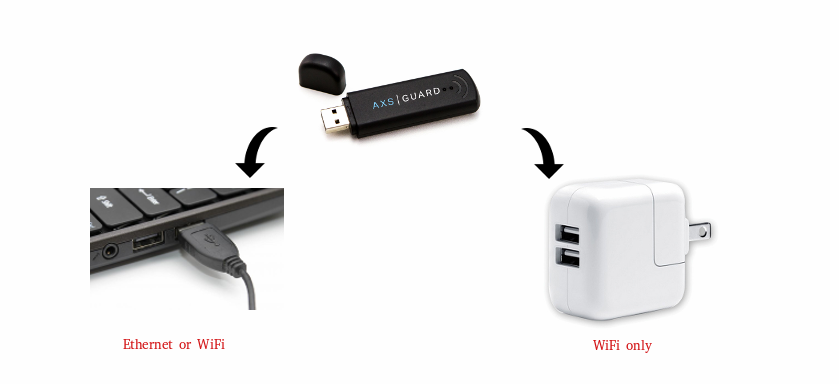
Connection Modes
-
Ethernet: The PAX unit functions as a wired network connection and is plugged in directly to your PC.
-
WiFi: The PAX unit functions as a wireless access point and can be plugged in to your PC, a wall charger, a battery pack or any other external device equipped with a USB port.
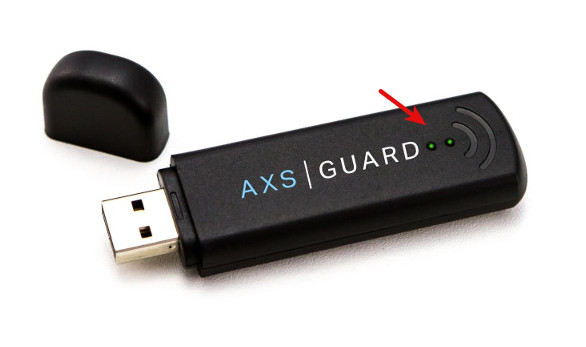
Connecting the Unit to a USB Port
Only use an external USB port, e.g. a wall charger or battery pack if the PAX WiFi feature is enabled. Ask your system administrator for additional information.
-
Disable all wireless connections on your mobile device or laptop, as you will use the PAX unit to connect to the Internet.
-
Connect your PAX Road Warrior to a free USB port on your PC.
-
Wait until both LEDs are showing a sign of activity (approx. 2 minutes).
Connecting to the Internet
Ethernet
Make sure that the Road Warrior unit is correctly connected to a USB port on your PC.
-
Start your favorite Internet browser, e.g. Firefox.
-
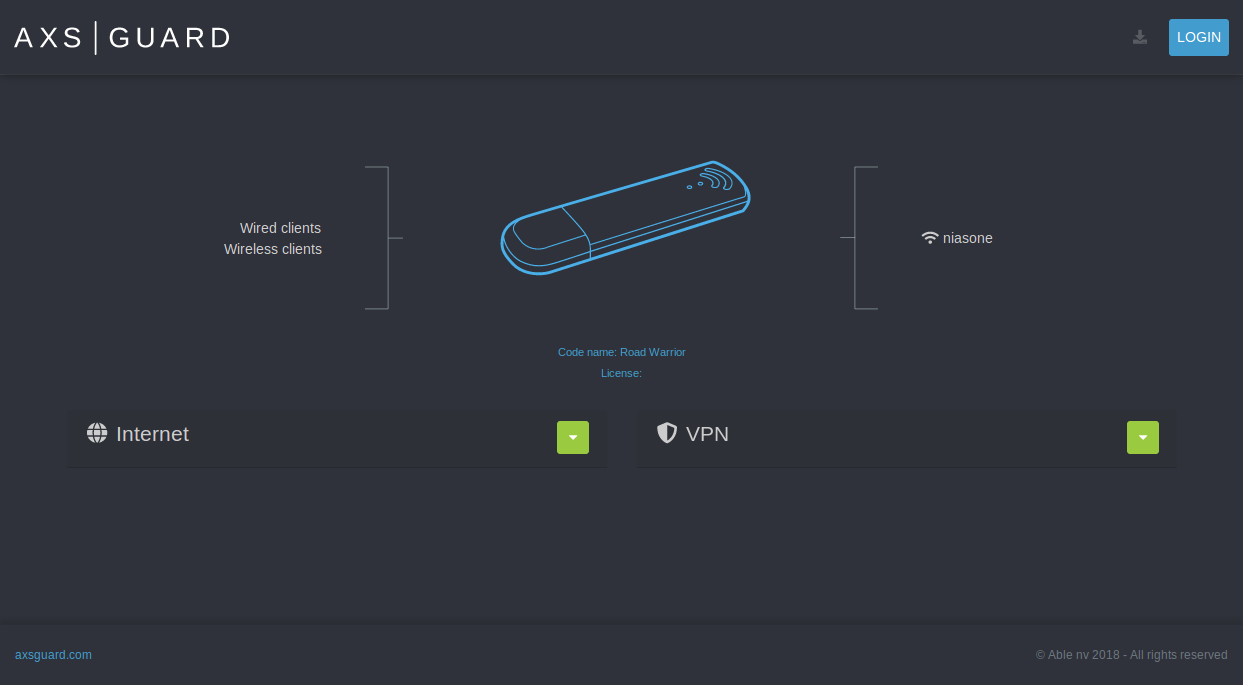
Enter https://pax in the URL field. Mind the "s" after http.
-
Accept the self-signed certificate of the PAX unit (This is only required the first time you connect).
-
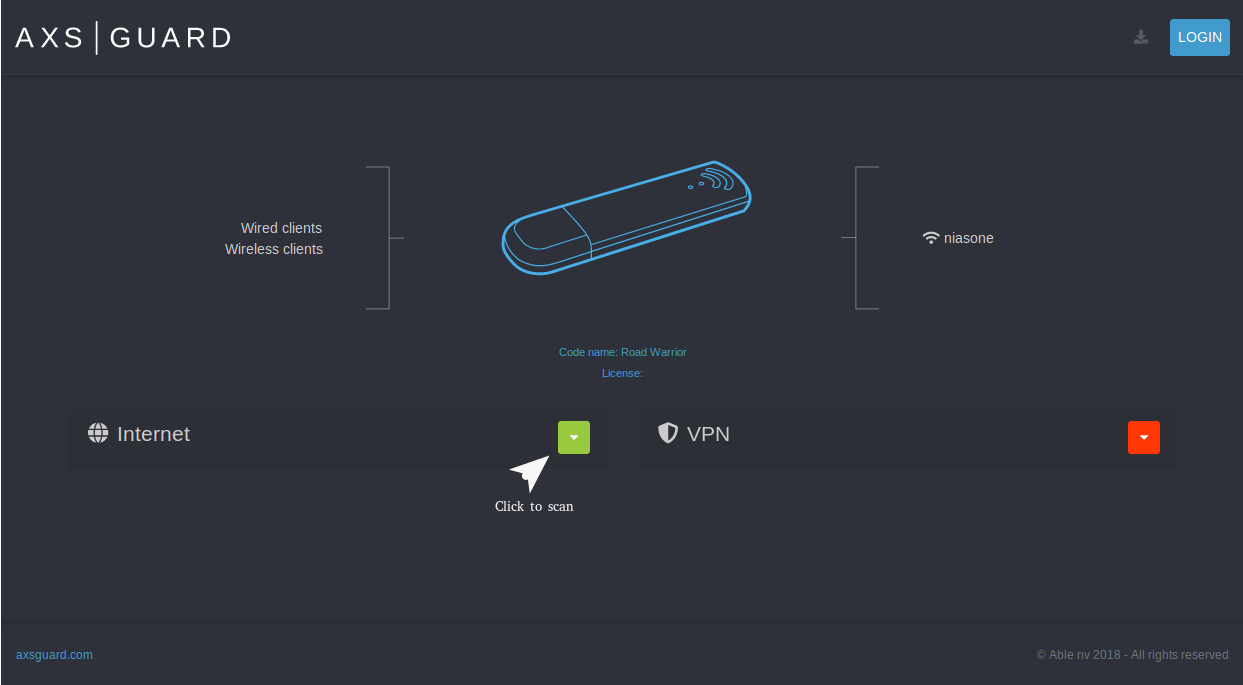
If you are already connected to the Internet and the icon is green, start the VPN connection.
-
If the icon is red, click on the scan button to look for wireless networks.
-
Select the appropriate guest network.
-
Enter credentials to join the wireless network (This is not required for open wireless access points).
-
If you are connected to the Internet, the color of the icon will change from red to green. You are now ready to start your VPN.
WiFi
WiFi must be enabled and configured on your PAX Road Warrior for the following steps to work. Contact your system administrator for additional information. This mode must be used if you intend to access corporate network resources with a tablet or any other device without USB ports.
-
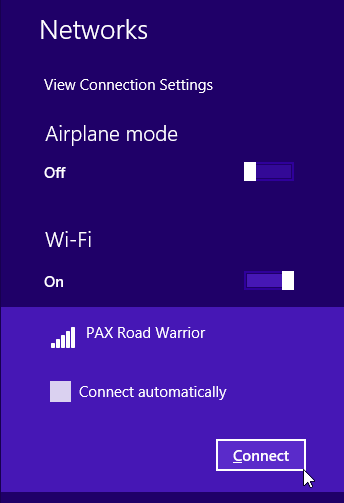
Select the Network or Wireless icon in the notification area.
-
In the list of networks, choose your PAX Road Warrior (The network ID must be provided by your system administrator) and select "Connect".
-
Type in the security key provided by your system administrator.
-
Accept the self-signed certificate of the PAX unit (This is only required the first time you connect).
Important
Your browser should start automatically. If it doesn’t, start it manually and simply enter
https://paxorhttps://pax.yourcompanydomain.comin your browser’s URL field to access the welcome page of the PAX Road Warrior. Mind the "s" after http. Then proceed to the next step. -
If you are already connected to the Internet and the icon is green, start the VPN.
-
If the icon is red, click on the scan button to look for wireless networks.
-
Select the appropriate guest network.
-
Enter credentials to join the wireless network (This is not required for open wireless access points).
-
If you are connected to the Internet, the color of the icon will change from red to green. You are now ready to start the VPN.
Starting the VPN
-
Enter the username and password provided by your system administrator to establish a VPN connection.
-
Click on the connect button or press enter.
-
Wait until the VPN icon turns green.
-
When the icon turns from red to green, you will be able to access your corporate applications and network resources.
Support
If you encounter a problem
If you encounter a problem with AXS Guard, follow the steps below:
-
Check the troubleshooting section of the feature-specific manual.
-
Check the knowledge base on this site for information about special configurations.
-
If no solution is available in any of the above sources, contact your AXS Guard vendor.
Contact Information
(+32) 15-504-400
support@axsguard.com