AXS One VPN Client
Introduction
The AXS One VPN client is a purpose-built ZTNA solution designed for seamless integration with the AXS One VPN server. Its cross-platform architecture ensures consistent deployment across all endpoints, from high-performance workstations to laptops. This document is intended for system administrators and IT professionals and explains how to download, install and configure the client.
Important
This release introduces a redesigned user interface, support for multiple connection profiles and a built-in troubleshooting tool. It replaces the earlier beta client.
Obtaining the Software
- Log in to the Cyber Resilience Portal.
-
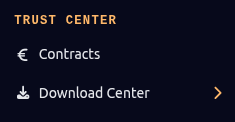
Navigate to the Download Center.
-
Select the appropriate installer for your OS.
Before you Begin
Management URL
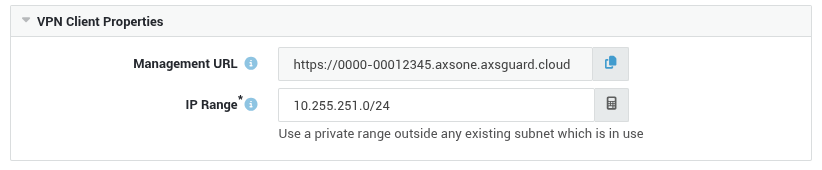
The address you need to enter when creating a new profile is the Management URL, as shown under the AXS One VPN Client Properties on the AXS Guard appliance. This value must be obtained from a system administrator. Its format depends on the connectivity mode used by your organization (Appliance Proxy or Local Access Server) and cannot be guessed or assumed.
- If the Management URL does not include a port (e.g.
https://axsone.example.com), enter it as is. This means the management server is running on port 443. - If the Management URL includes a port (e.g.
https://axsone.example.com:4443), make sure to enter it.
Desktop Client Installation
Microsoft Windows
- Log in to your Windows workstation as an administrator.
- Find the location where you downloaded the installer.
-
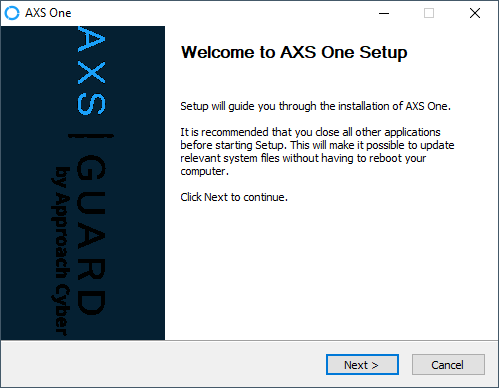
Run the installer and follow the on-screen instructions.
macOS
Installation Requirements
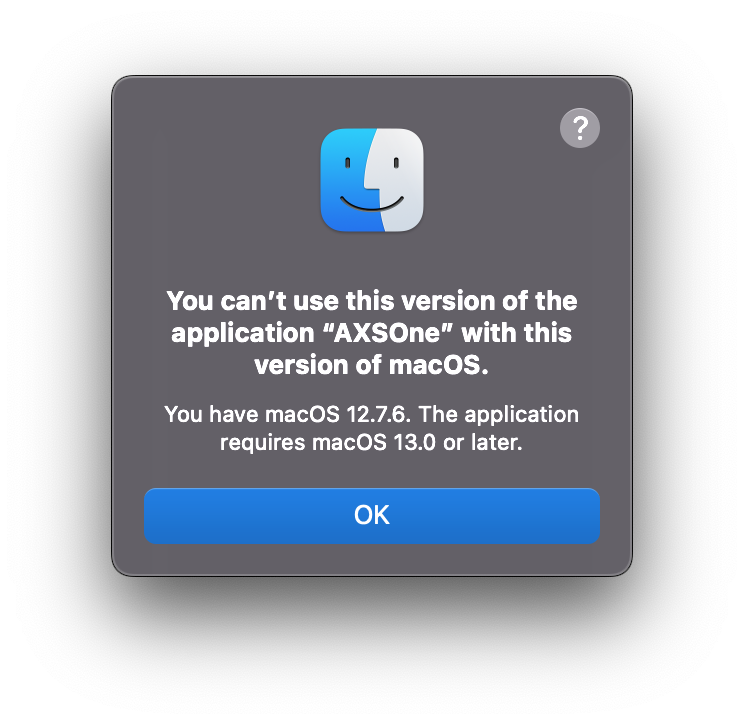
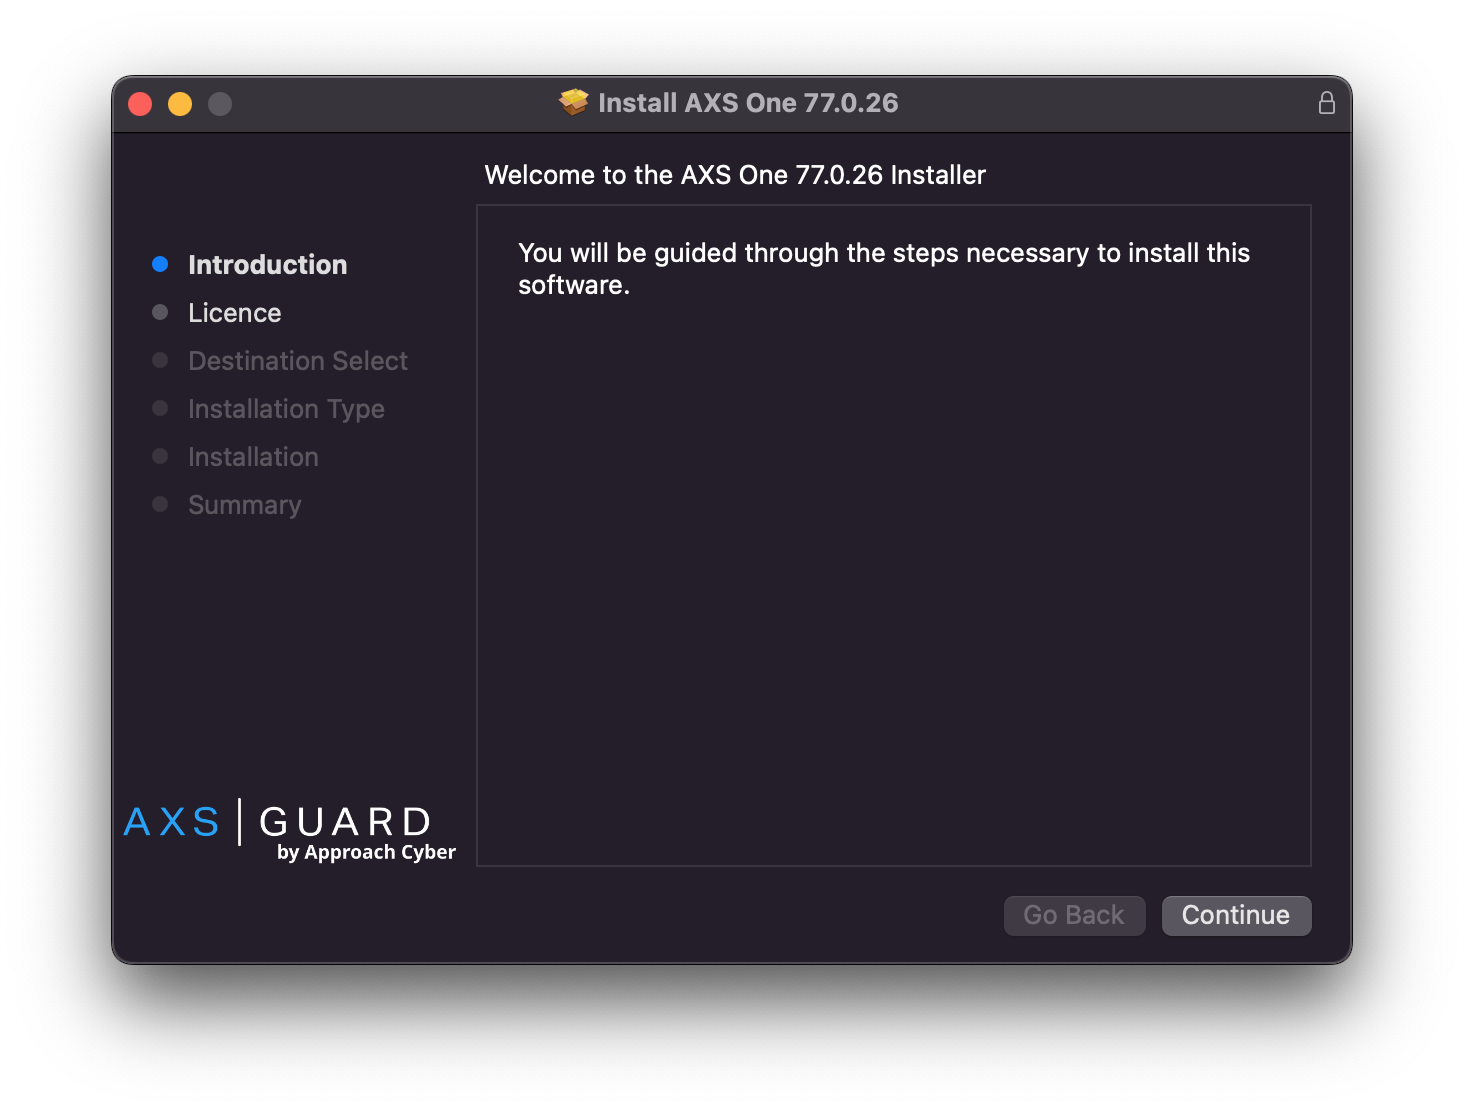
The client requires macOS 13.0 or later. On earlier versions, the installation completes but the application will not start, and macOS shows the following message:
- Double-click the
.pkgfile to start the installation wizard. - Follow the on-screen prompts.
-
Enter your password or use Touch ID to authorize the installation.
Linux
- Start a terminal.
-
Find the location where you downloaded the packages (usually Downloads):
cd ~/Downloads -
Install the packages:
- Start with the core package:
sudo dpkg -i axs_one_lin_amd64.deb - Then install the UI package:
sudo dpkg -i axs_one-ui_lin_amd64.deb
- Start with the core package:
Creating your First Connection
The client stores each connection as a named profile. A profile consists of a name of your choice and the Management URL supplied by your system administrator. The steps below are identical on Windows, macOS and Linux.
- Search for AXS One in your application menu and start the app.
- Click the tray icon and open the settings page.
-
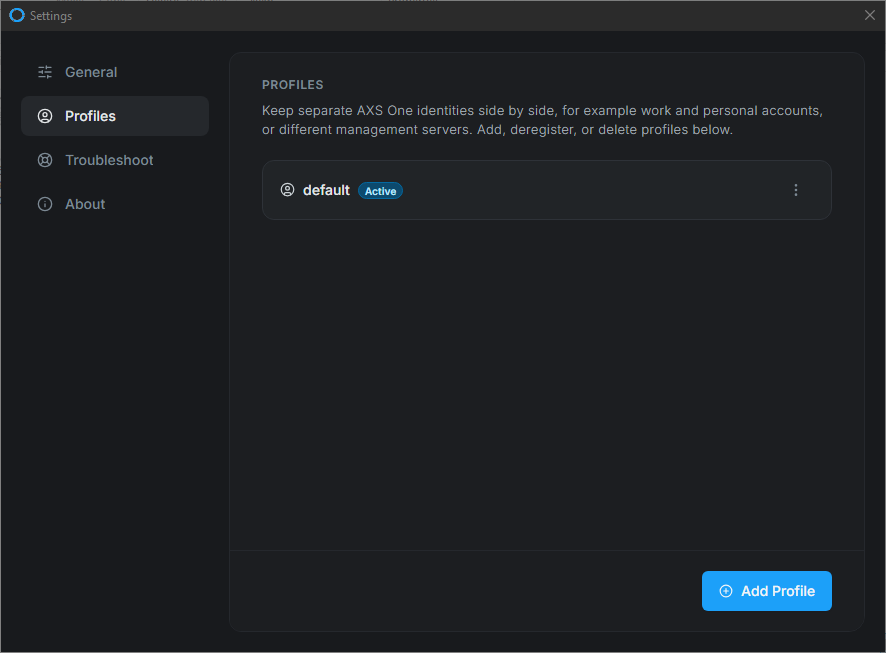
Go to the profiles page .
-
Select the option to add a new profile.
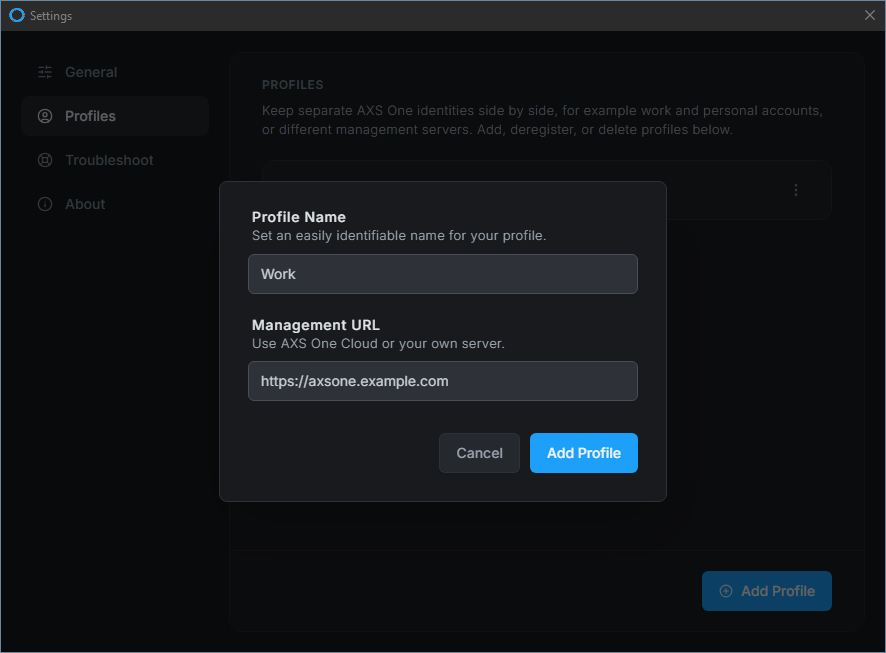
- Enter a name for the profile.
- Enter the Management URL provided by your system administrator, including the port if one is specified.
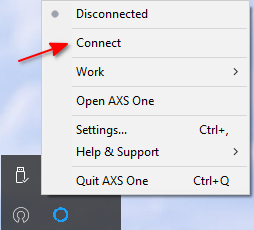
- Add the profile, after which it will become active and available from the system tray menu.
-
Select Connect in the system tray.
-
Enter your user credentials when prompted and click on the login button.
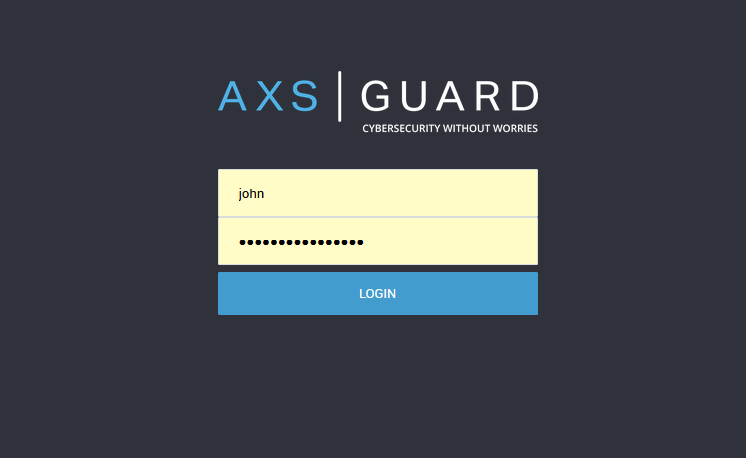
-
If the login succeeds, users will see the following message:
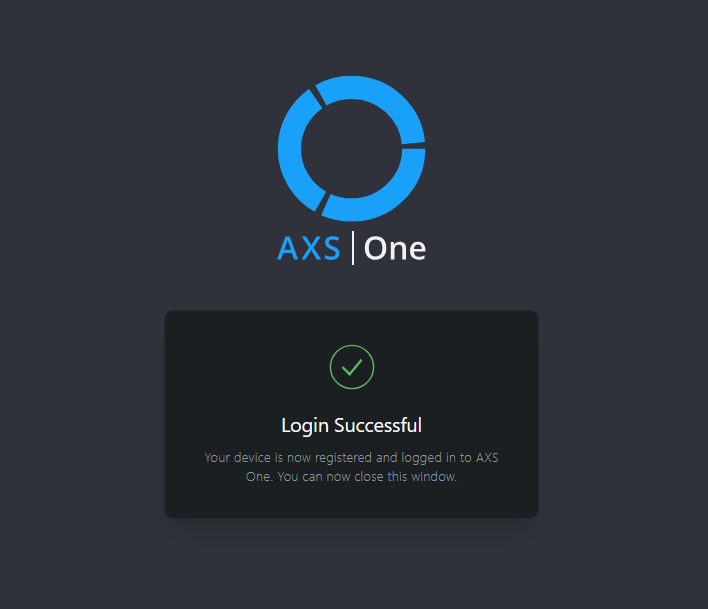
-
If the corporate network is unreachable, contact your system administrator to trust the client. Depending on the server configuration, system administrators must explicitly trust endpoints before they can connect to the corporate network.
Using the Client
System Tray
Most functions are available directly from the tray icon, without opening the settings page.
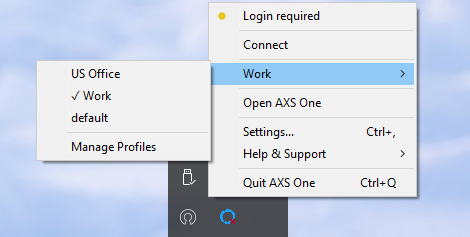
| Menu item | Action |
|---|---|
| Connect | Connects to the VPN management server (defined in the active profile). |
| Profile name | Shows the active profile. Click to switch between profiles or to manage profiles. |
| Open AXS One | Shows the client's main window, where you can connect, disconnect and also switch between profiles. |
| Settings | Opens the settings page. |
| Help & Support | Provides access to the AXS One client documentation and the option to generate log archives for troubleshooting. |
| Quit AXS One | Closes the tray application. |
Settings Page
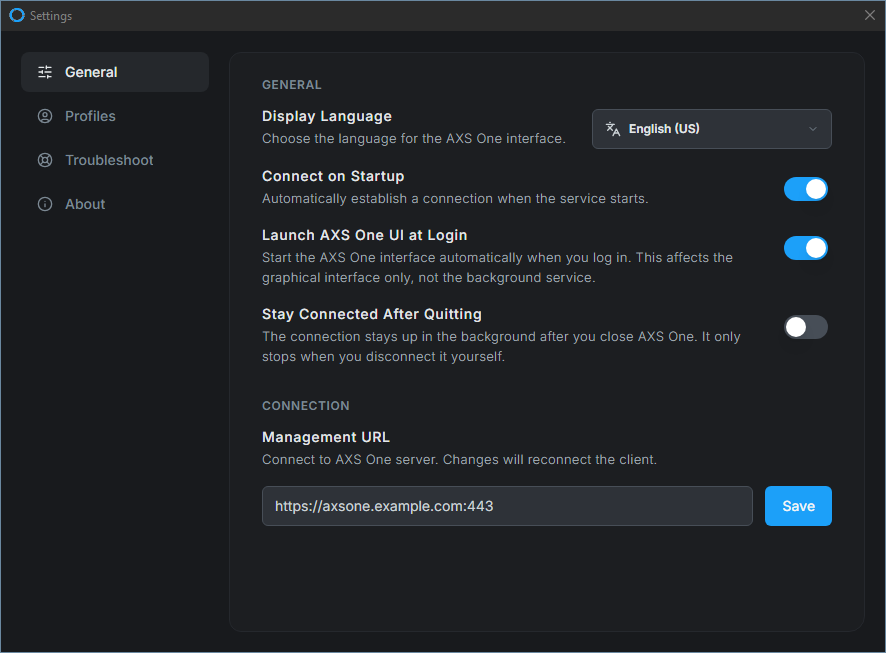
The settings page is the main configuration surface for the client. It presents a set of default options that can be enabled or disabled individually, including options relating to the Management URL. The Management URL currently in use is displayed on the page, so you can confirm at a glance which server the client is pointed at.
Profiles
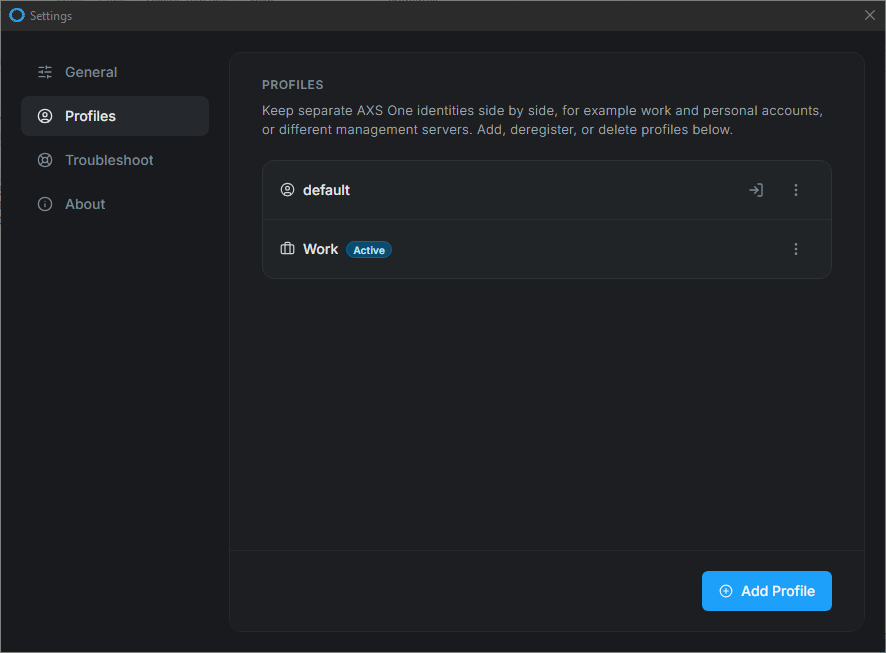
The client supports multiple Management URLs, each stored as a named profile, and allows you to switch between them without reconfiguring the client.
- To add a profile, follow the steps under Creating your First Connection.
-
To switch to another profile, select it either on the profiles page or from the tray menu. Both show the same list.
Language
The client interface is available in two languages, including French. The language is selected on the general settings page.
Troubleshooting
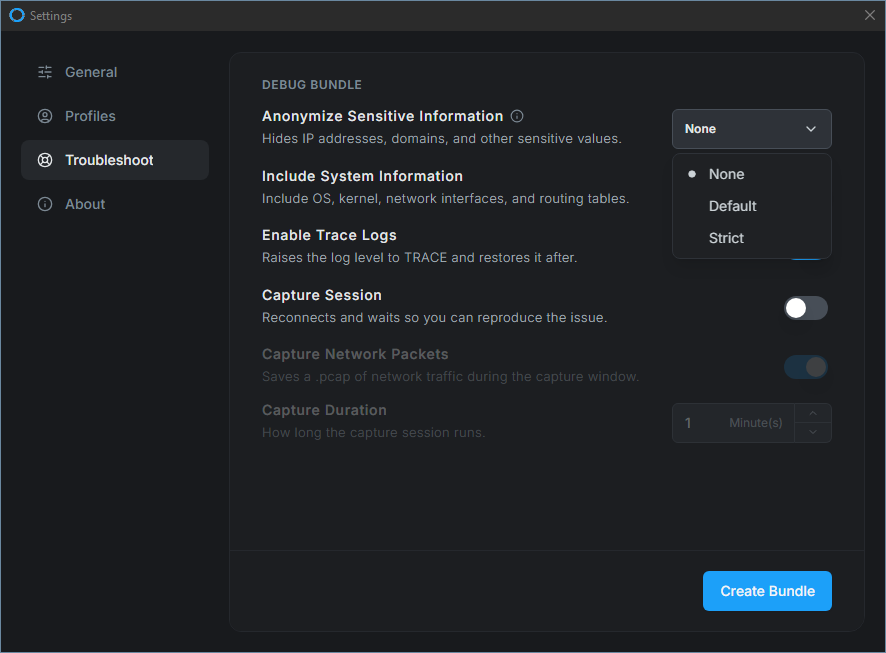
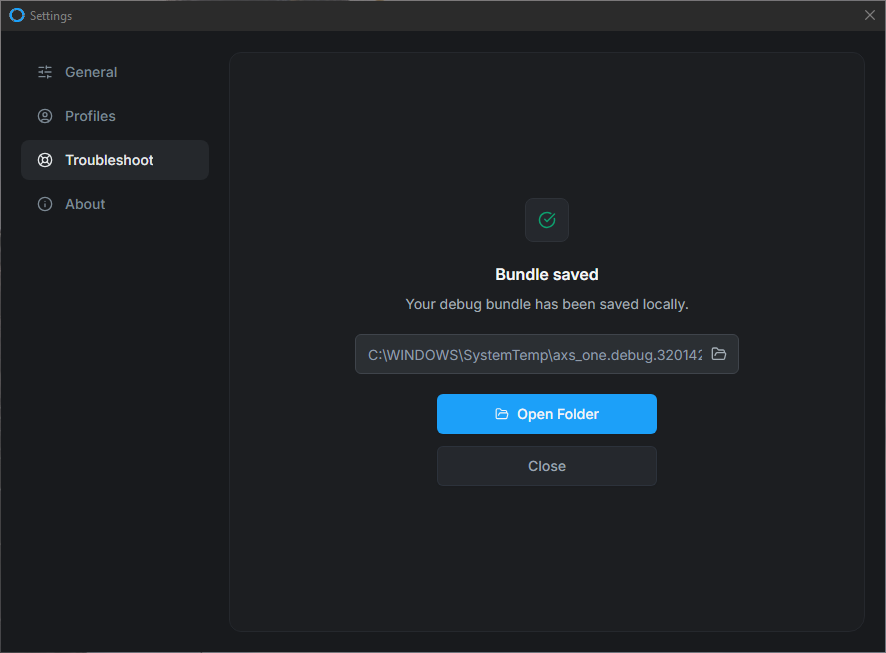
The troubleshoot page allows you to collect all logs generated by the client and package them into a single zip file, which you can send to technical support or to your reseller. You can also capture network traffic and include a .pcap file with the bundle. Do this before reporting a problem, so that the relevant diagnostic data accompanies your report.
Important
The Troubleshoot entry in the tray menu does not generate the archive directly; it opens a configuration page where you can run the 'Create Bundle' function.
About
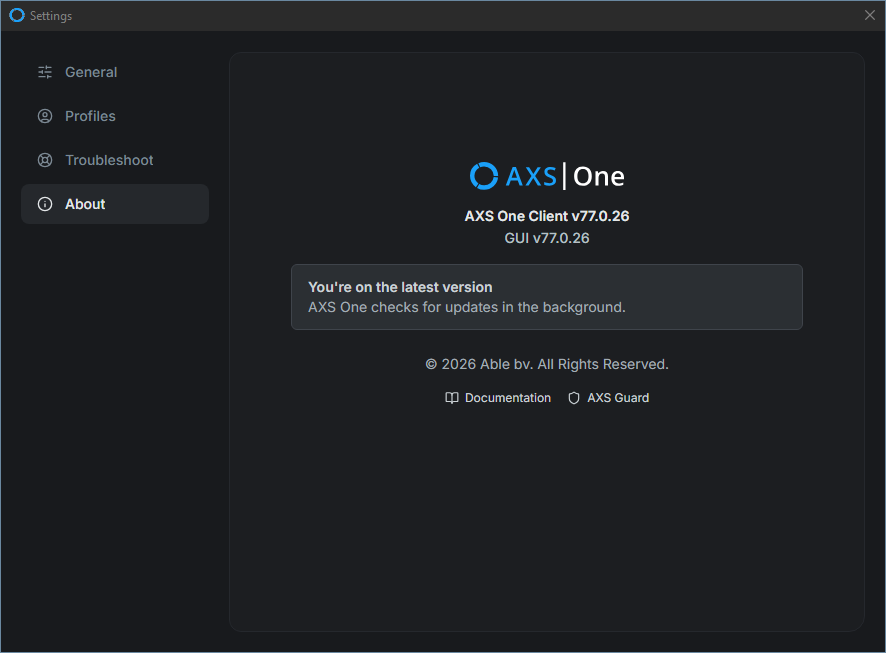
The about page shows:
- the installed version number, and whether it is the latest available version;
- a link to the AXS One documentation;
- a link to the AXS Guard website.
Support
If you encounter a problem
If you encounter any issues with the AXS One VPN client, run the Troubleshoot function and attach the resulting zip file to your support request, then reach out to our technical support department or your reseller.
Contact Information
(+32) 15-504-400
support@axsguard.com