Configuration Wizards
About
The configuration wizards walk you through essential configuration steps needed to get your appliance up and running. Note that each wizard must be completed before the next one becomes available.
Tool Login
-
Start your favorite Internet browser.
-
Enter the factory default URL for the administrator tool, i.e. https://192.168.250.254:82
-
Accept the self-signed certificate to continue.
-
Enter the factory default username and password to log in.
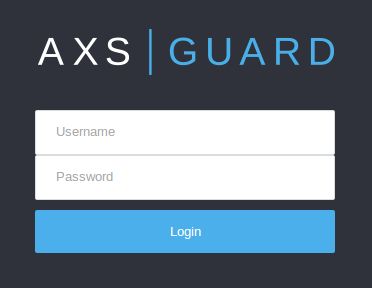
Starting the Wizards
Important
-
If you are logging in for the first time, the wizard to create an administrative account will start automatically. Otherwise, click on the Wizards button located in the top pane to start it manually.

-
Fields marked with an asterisk
*are required, other fields are optional. -
Configuration options are explained in the various help pages available throughout the AXS Guard configuration tool. These pages can be accessed by clicking on the
Helpbutton.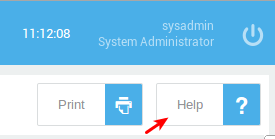
-
You can also click on the information icon next to a text field or option for assistance.
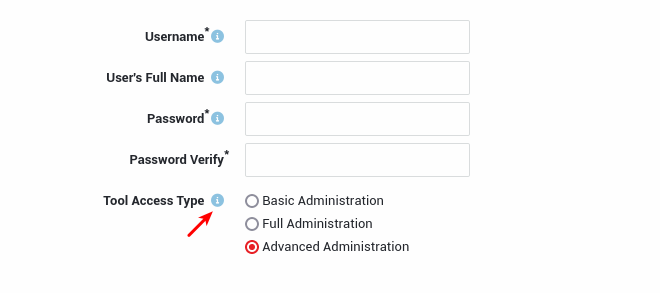
-
Some wizards and features shown in this guide may not be available on your system. The availability of features is tied to your system license. Upgrade it if necessary.
- It is necessary to reboot your appliance after completing the setup wizards and before proceeding to the post-installation configuration.
- Log in to your AXS Guard appliance. Accept the self-signed certificate.
-
Follow the on-screen instructions. Click on the Wizards button located in the top pane if the first wizard doesn't start automatically.
-
Create an administrator with advanced administrative privileges. Advanced access privileges provide access to all licensed system components and options. Make sure to use a complex and secure password.
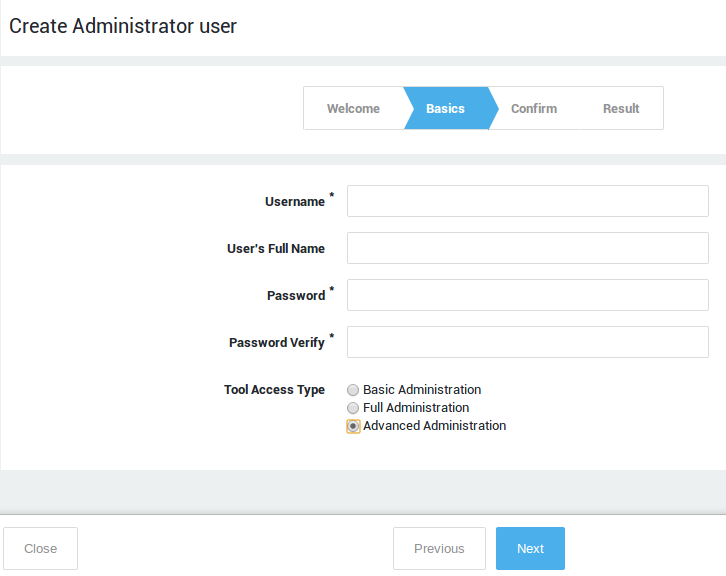
-
Start the setup wizard to configure your domain, Time Zone, SMTP, DNS, NTP and other basic network settings. Replace the factory default
sysadminpassword with a complex, secure password.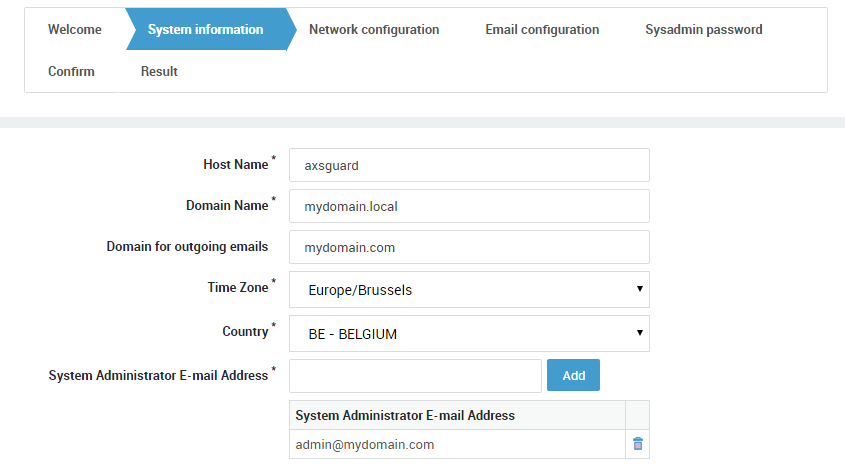
-
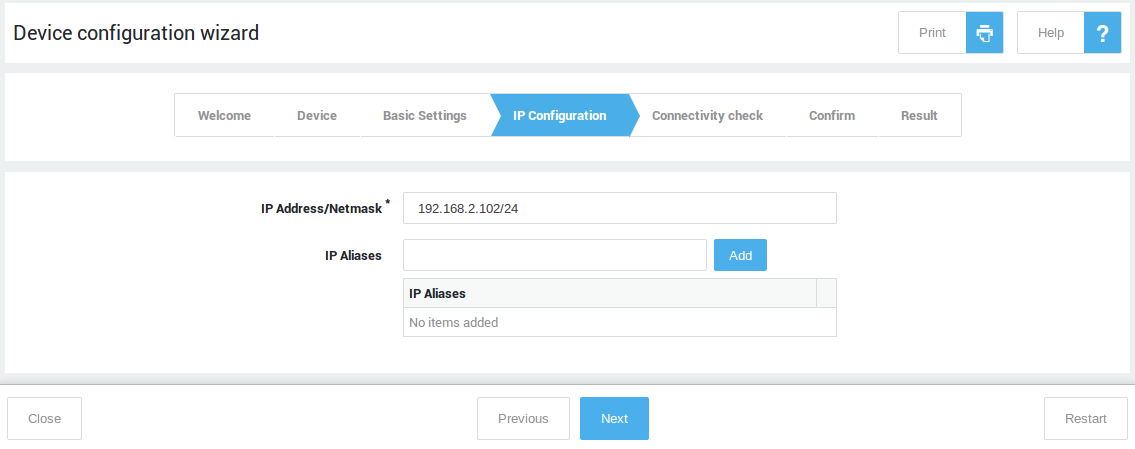
Start and complete the network device wizard for every zone in your network, i.e. secure LAN, DMZ & Internet.
-
Start and complete the customer wizard.
-
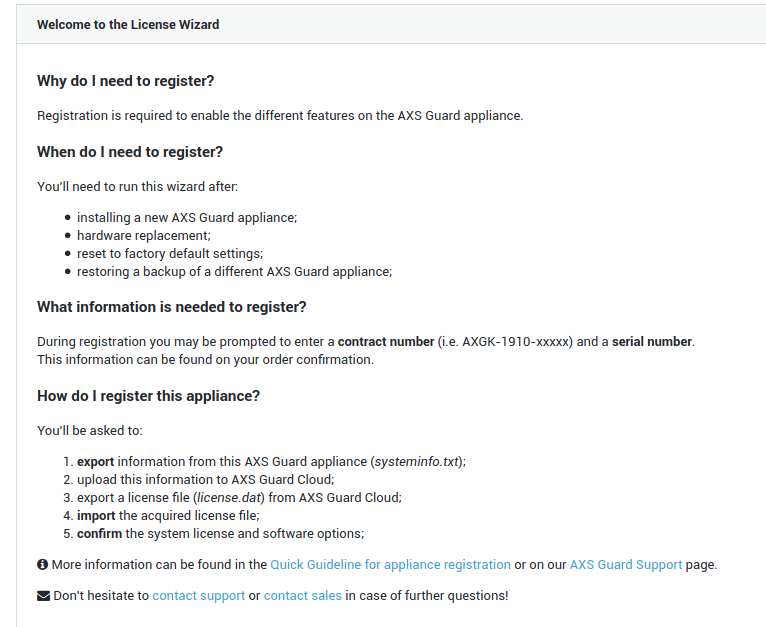
Start and complete the license wizard. Activate your system license and software options.
-
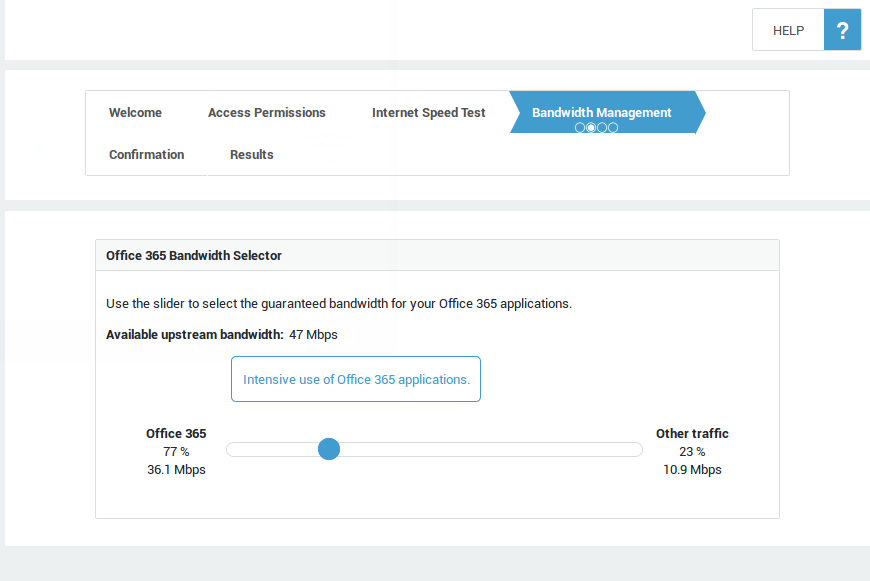
Start the Office 365 FAST Lane wizard to automatically optimize the upstream bandwidth and security for your Office 365 applications and services (an appropriate license and Azure tenant access are required). Skip this step if you don't use Office 365.
-
Start the group wizard if you need to create custom groups. If no additional groups are created, all users will automatically be assigned to the system
defaultgroup. Note that groups can also be added automatically via user & group synchronization.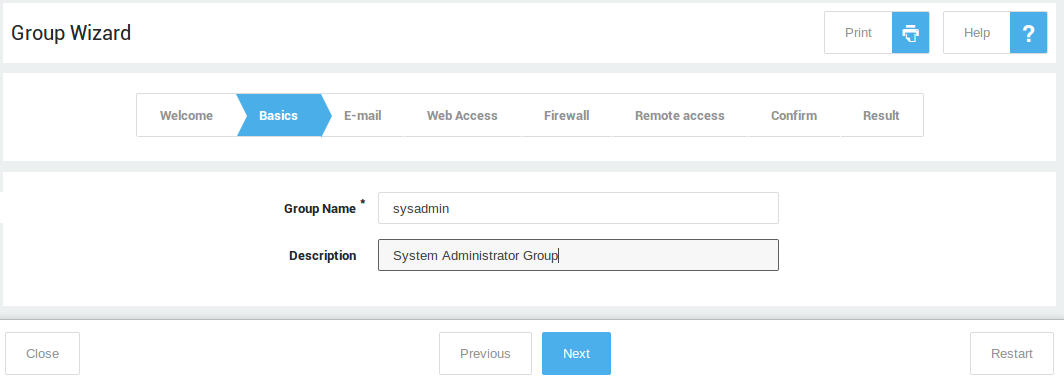
-
Start the user wizard if you need to create users manually. Add each user to the desired group created in the previous step. If no group is selected, new users will be added to the system
defaultgroup. Note that users can also be added automatically via user & group synchronization. Reboot your appliance after completing the wizards.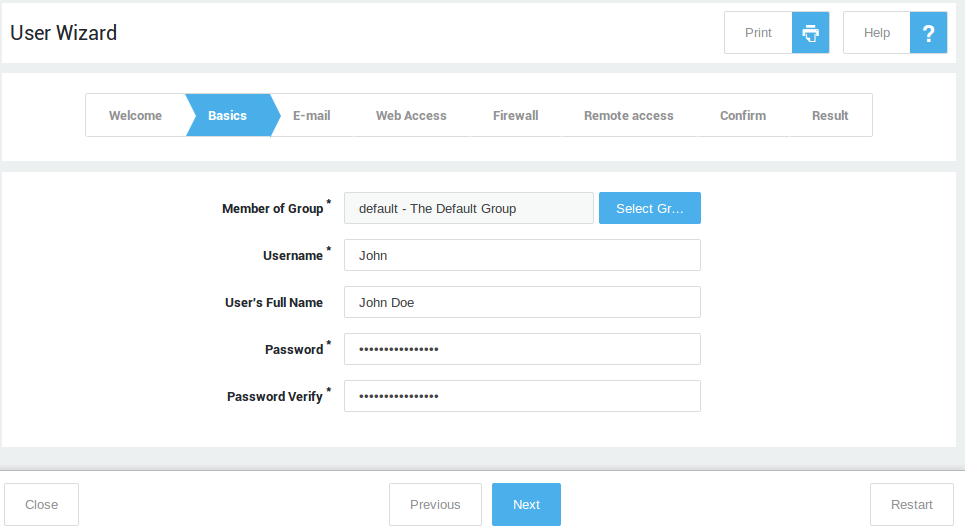
Rebooting your Appliance
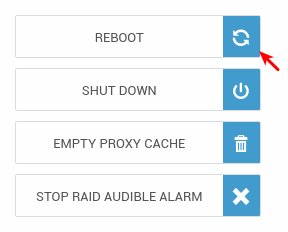
Go to System => Tools => Actions and reboot your AXS Guard appliance to apply your basic system configuration and network settings, initiate your domain and the AXS Guard antivirus engine. This is required before proceeding with the post-installation configuration.
Next Step
Continue with Post-Installation Configuration.